


Implementing image lazy loading to improve website performance using JavaScript


Table of contents
You know that feeling of logging into a website but having to wait an extra few seconds before you can efficiently navigate the page because the images haven't loaded completely? Annoying, right? 😅 Well, this situation typically occurs based on one of the following reasons:
- A slow internet connection.
- An older (slower) device.
- The size of the image being fetched by the browser.
With the use of graphic assets(images) on websites for aesthetics, illustration, data representation, and several other reasons, there is a need to find more efficient ways of quickly delivering them to the users. Hence, the need for the implementation of lazy loading in images.
Prerequisites
- Fundamental knowledge of HTML, CSS and JavaScript.
- Fundamental knowledge of JavaScript’s Intersection API.
- A code editor and a browser (Preferably one that supports JavaScript’s Intersection API eg Google Chrome).
- Fundamental knowledge of the working of a Browser’s Dev Tools.
What is lazy loading?
Put plainly, lazy loading is a technique in web development where the loading of resources is postponed on a page until they are needed —rather than loading them immediately after the page loads. This technique helps to improve user experience, makes better use of the device's resources, and helps optimize page performance.
Why Lazy Load at All?
If the user never scrolls to the point on the page where the image resides, then there is never a need to load it in the first place, leading to increased website performance.
Methods of Lazy Loading
Some methods of performing lazy loading include:
- Use of JavaScript libraries eg Layzr.js.
- Triggering the image loading using native JavaScript.
What is an Intersection Observer API?
The Intersection Observer API is a native JavaScript API that allows the browser to observe changes according to the way a specific target element intersects another element in the DOM. It is also a great way to keep track of how much of an element is visible on the screen.
How does the Intersection Observer API work?
The Intersection Observer API watches an element or elements to see if it intersects (meets or passes through) another element in the DOM. It can also be set up to watch for intersections between an element and the browser's viewport. The intersection observer function watches for a specified intersection event and fires a callback function when that event occurs.
Note: A callback function is a normal function passed to another function as that function’s argument.
Creating a simple Intersection Observer
To create an Intersection Observer, we would need to adhere to a couple of steps.
- Define the Intersection Observer function itself.
- Call the observe method on the element we wish to observe.
- Define our observer callback function.
- Define our observer options object.
I know all this seems pretty complex, so I’ll break it down into smaller, more manageable steps.
Firstly, we initialize and store our Intersection Observer function in a variable using the syntax below.
const observer = new IntersectionObserver();
The IntersectionObserver function takes in two arguments as parameters, i.e., an observer options object and a callback function, but more about that later.
After initializing the IntersectionObserver API, we have to specify which element we wish to observe using the observe method. To do this, we call the observe method on our observer API and pass the element we’re trying to observe to the observe method.
observer.observe(h1);
In this case, we’ve chosen to observe the h1 element.
Next, we specify or define our Observer callback function. This callback function holds what we want the observed element to do or how we want it to behave.
const observerCallback = function () {};
Finally, we define the observer options object i.e., the second argument passed to our observer function. This is used to customize the intersection event; and before creating this, we must first understand the contents of this object. This object contains the following properties:
root: This is the root element that our target element is intersecting. For reference, our target element is the h1 element we just recently observed.
threshold: This is the percentage of the root element at which the event is triggered. To better explain it, let's use an example of a swimming pool as the root element. How deep should a person (target element) dive into the pool (root element) before it is considered an intersection. Similarly, the threshold is the intersection required before the Intersection observer event is fired and its callback function (observerCallback) is executed. To set the threshold value, we use numbers between 0 to 1 to indicate the value from 0% to 100%.
Creating the observer options object becomes:
const observerCallback = {
    root: null,
    threshold: 0.1,
};
Note: If the root element is unspecified, or set to null, the root element becomes the entire browser’s viewport, just as we’ve done in our code sample above.
Considering this article isn’t intended on explaining the workings of the JavaScript Intersection Observer extensively, I’ll recommend the following articles for a better understanding.
- Revealing Contents on Scroll Using JavaScript’s Intersection Observer API
- Revealing Multiple contents on Scroll Using JavaScript’s Intersection Observer API
Now, that we’re familiar with JavaScript’s intersection Observer API, let’s dive into the actual implementation of the lazy loading feature.
Creating Lazy Loading Images with JavaScript’s Intersection Observer
The main idea behind image lazy loading is to showcase a low-resolution/size version of the image (that is faster to download) when the page loads, and then replace that image with the final higher-quality image when the user scrolls to where the image is located on the webpage. Lazy loading logic can be made possible through JavaScript’s native Intersection Observer API with the following steps:
- Check for the user’s current viewport when the page loads.
- Check for intersections between the viewport and the target element.
- Swap the low-resolution image for its high-resolution alternative when the target element intersects with the viewport.
Considering the size of our project to be built, we would divide the implementation into three phases;
- The mockup phase ( Webpage Creation)
- The CSS phase ( Webpage Designing )
- The JavaScript phase ( Functionality development )
Keep in mind that we would only explain the essential parts of the first two stages of implementation.
The Mockup phase
This phase consists of all the HTML markup we are going to need for the project.
<body>
<header>
<h1>Just a header</h1>
</header>
<main>
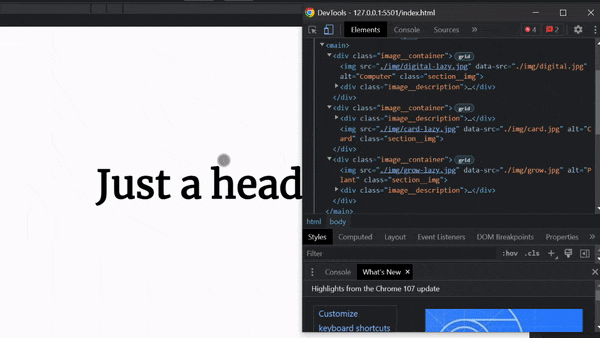
<div class="image__container">
<img
src="./img/digital-lazy.jpg"
data-src="./img/digital.jpg"
alt="Computer"
class="section__img"
/>
<div class="image__description"> Lorem ipsum dolor sit amet consectetur adipisicing elit.Quas iusto eius sapiente distinctio aut quaerat ab. Necessitatibus provident esse repudiandae culpa officiis libero minus, consequatur incidunt voluptates repellat sunt cum?
</div>
</div>
<div class="image__container">
<div class="image__description">
Lorem ipsum dolor sit amet consectetur adipisicing elit.Quas iusto eius sapiente distinctio aut quaerat ab. Necessitatibus provident esse repudiandae culpa officiis libero minus, consequatur incidunt voluptates repellat sunt cum?
</div>
<img
src="./img/card-lazy.jpg"
data-src="./img/card.jpg"
alt="Card"
class="section__img"
/>
</div>
<div class="image__container">
<img
src="./img/grow-lazy.jpg"
data-src="./img/grow.jpg"
alt="Plant"
class="section__img"
/>
<div class="image__description">
Lorem ipsum dolor sit amet consectetur adipisicing elit.Quas iusto eius sapiente distinctio aut quaerat ab. Necessitatibus provident esse repudiandae culpa officiis libero minus, consequatur incidunt voluptates repellat sunt cum?
</div>
</div>
</main>
<footer><h1>Just a footer</h1></footer>
</body>
It’s a little overwhelming, I know. Let’s go over it then. We created three sections; a header section, the main section, and a footer section.
The header section only contains a heading text, which would be helpful when scrolling into our observed elements.
We created three sections; a header section, the main section, and a footer section. The header section only contains a heading text, which would be helpful when scrolling into our observed elements. The main section consists of three child elements named (image__container). Each of these three children elements contain two child elements (an img element and a div). Finally, the footer section contains a heading text.
After taking a closer look at the HTML markup, you may notice that each img element contains two similar attributes: the src and the data-src attribute. These attributes would be useful in implementing the lazy loading feature because they are the attributes that contain the images we are swapping. The src attributes contain the initial low-resolution images and the data-src attributes, are custom attributes containing the high-resolution images.
The HTML markup looks like this;

The CSS phase
Then, for the CSS, we have the following codes:
header {
  border-bottom: 1px dashed #888;
}

header,
footer {
  height: 100vh;
  width: 100%;
  display: grid;
  place-items: center;
  font-size: 2rem;
}
footer {
 border-top: 1px dashed #888;
}

.image__container {
  display: grid;
  grid-template-columns: 1fr 1fr;
  padding: 3rem;
  gap: 2rem;
  place-items: center;
}

.image__container img {
  width: 100%;
}

.image__description {
  font-size: 1.2rem;
  line-height: 1.5;
}
We use the above code block to style our webpage to display the images neatly before we add our lazy loading effect. A visual representation of what we have achieved so far:

At a first glance, we can see the well-laid-out structure of our webpage, the separation between sections, and, more importantly, how only the low-resolution images load into the webpage. Now, it is time to focus on the functional aspect of our webpage.
The JavaScript Phase
Below is a step-by-step procedure for this phase to help us better understand what we plan to do. These steps include;
- Outlining and selecting all the elements to be lazy-loaded.
- Creating our intersection observer function. This process breeds two subprocesses which are:
- Creating our observer callback function.
- Creating our observer options object.
- Passing the callback function and options object as arguments of the Intersection observer function.
- Looping through all the observed images to observe each of the images.
- Creating a guard clause to ignore non-intersecting events.
- Creating a lazy loading event which fires when the observed images intersect with the viewport. This logic is responsible for swapping out the low-quality image for the high-quality image.
- Adding a blurry effect to the images, so they appear blurry when swapping hasn’t occurred and clear when it has.
- Capturing the load event to remove the blurry filter when the load event is done.
- Unobserving all the images after they’ve been loaded.
As you can see, we’ve got our work cut out, so let’s dive right in.
Firstly, we identify what elements we plan to lazy load on our webpage. On quick inspection of our HTML document, we can quickly determine that all our images have a common attribute called data-src, so we use that attribute to select them.
const imgTargets = document.querySelectorAll("img[data-src]");
Next, we initialize our intersection observer API.
const imgObserver = new IntersectionObserver();
Define our observer callback function.
const imgLoad = function (entries, observer) {};
It is important to note that our observer callback function is invoked with two arguments:
- The entries argument, which is an array that holds the IntersectionObserverEntry Object. This object contains several properties describing the intersection event between the target element and its root element.
- Its second argument is the observer object (i.e., the intersection Observer we created earlier).
And our observer options object:
const obsOptions = {
  root: null,
  threshold: 0.2,
};
Note: We set the root to null to trigger our lazy loading effect relative to the device’s viewport and set a threshold of 0.2, i.e., to trigger our functionality when a 20% intersection is obtained.
Next, we pass the callback function and options object as arguments to the Intersection observer function.
const imgObserver = new IntersectionObserver(imgLoad, obsOptions);
After that, we use a forEach loop to iterate through each image and observe them individually. We are capable of doing this because the document.querySelectorAll created a nodelist of all the selected images, and despite a nodelist not being an array, we can loop through it.
imgTargets.forEach((img) => imgObserver.observe(img));
This statement interpreted in English is “For each img in the nodelist (imgTargets), observe each img.”
To have a more visual understanding of our progress so far, I wrote a small code block inside of our callback function.
const imgLoad = function (entries, observer) {
  entries.forEach((entry) => {
    console.log(entry);
  });
};
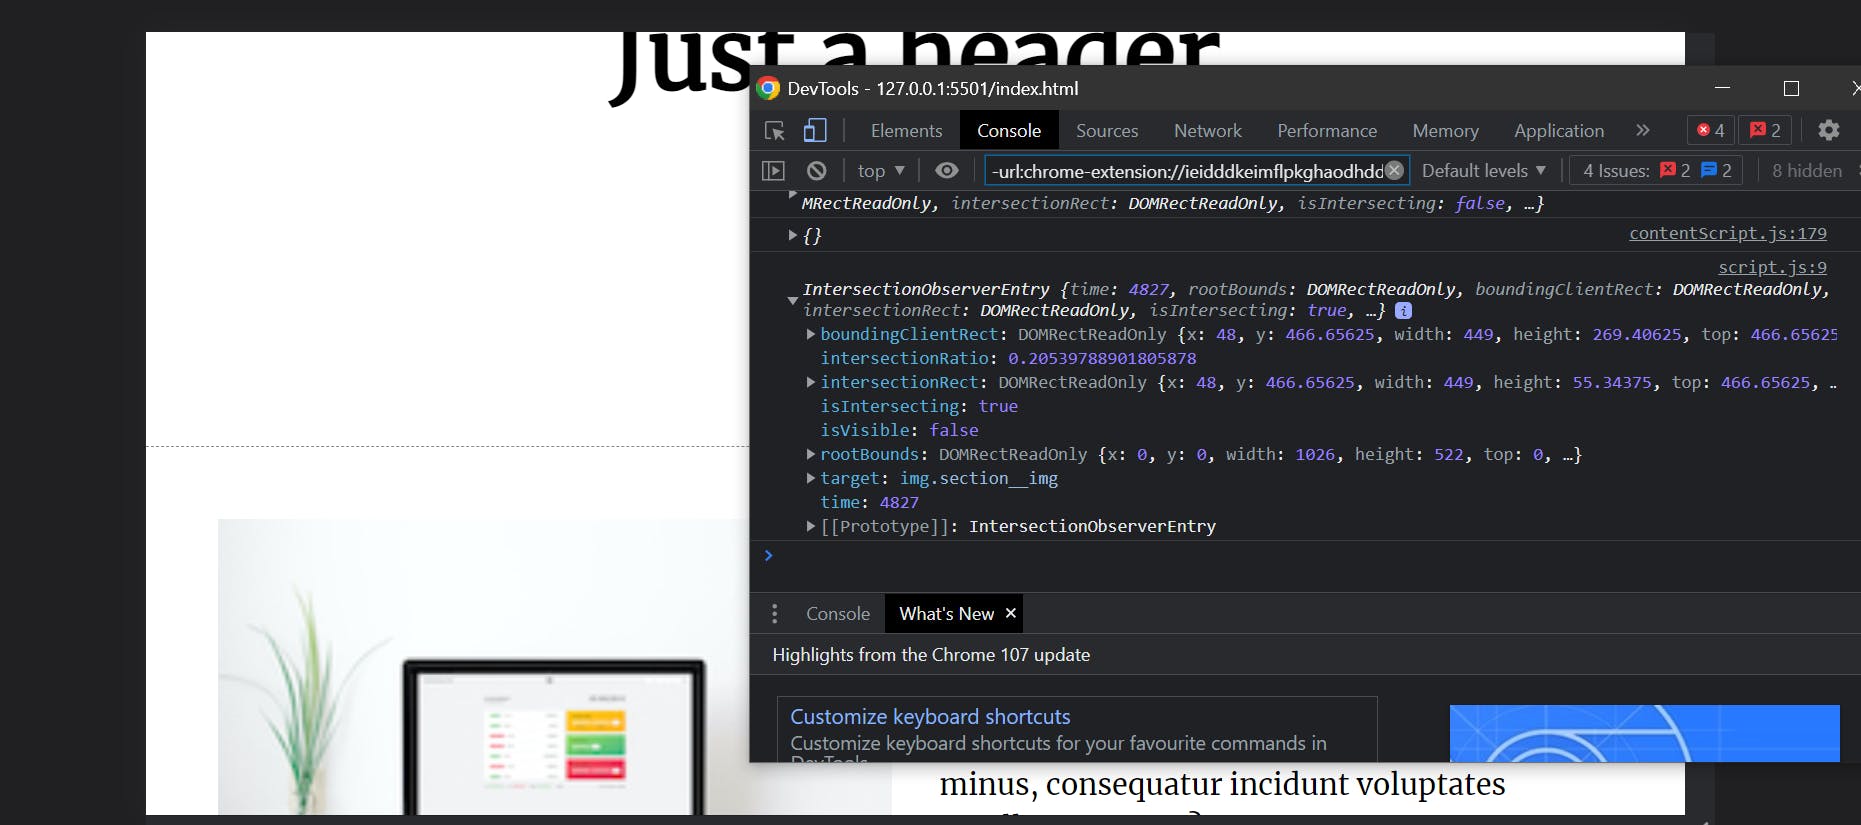
As stated earlier, the entries argument, an array indicating when an intersection occurs, can easily be looped over to display the entry and exit of an intersecting element. The result of the imgLoad callback function can be shown in the image below.
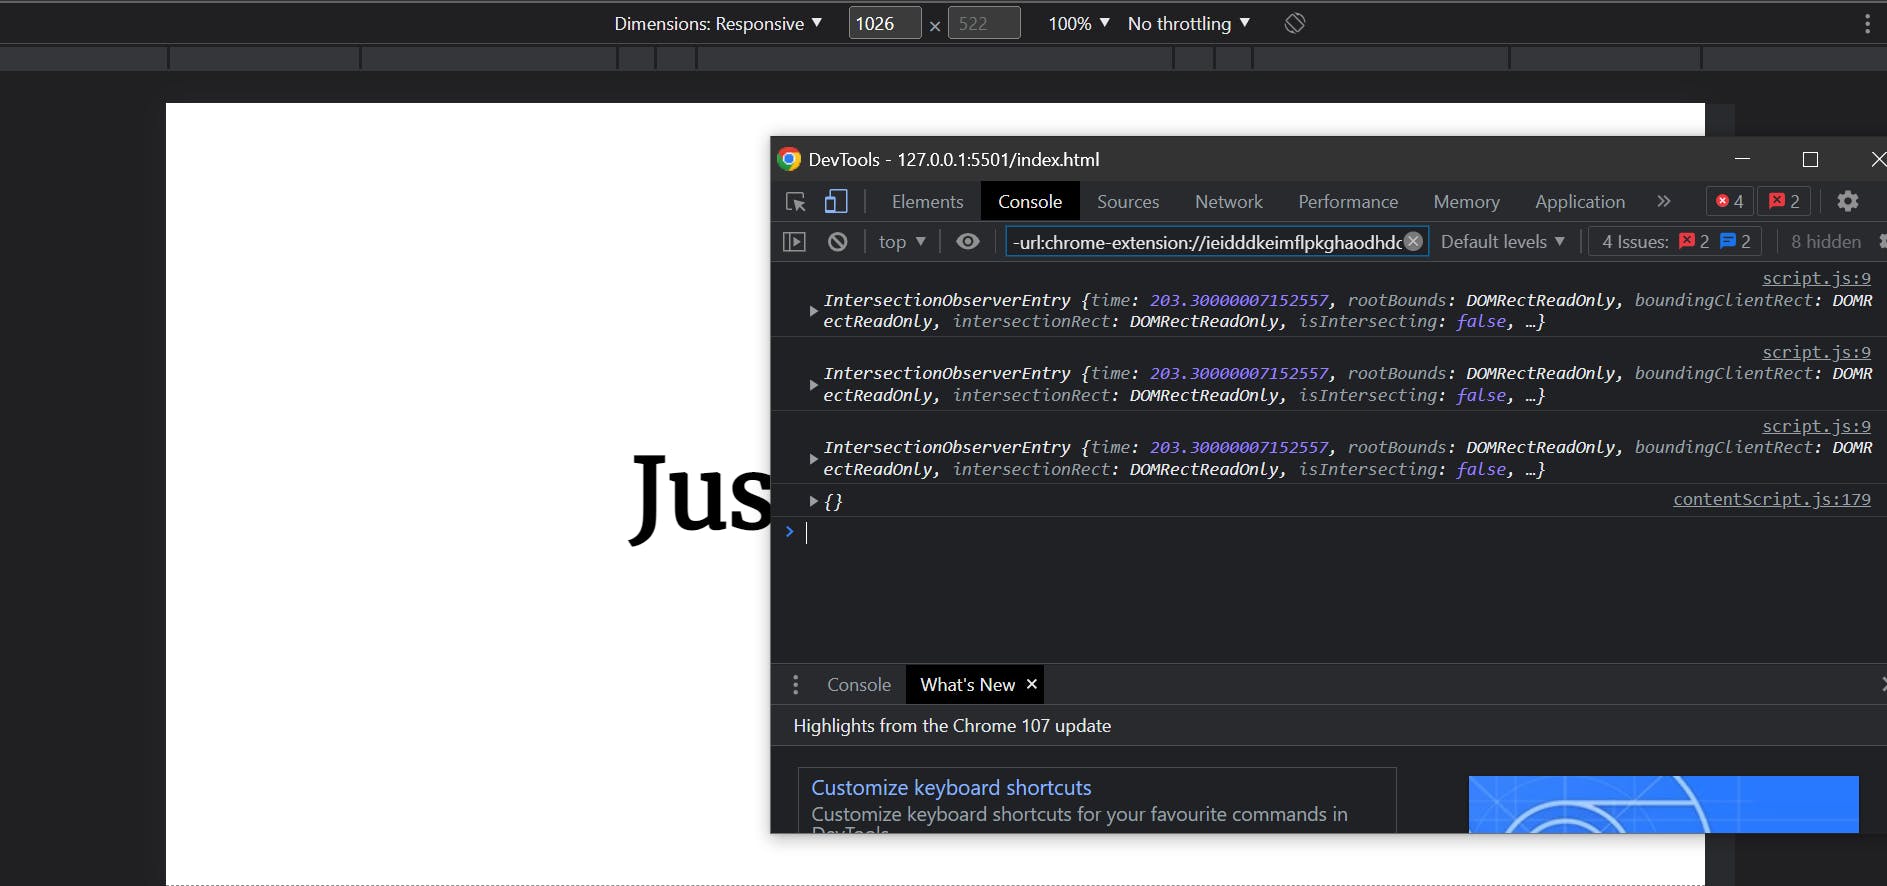
By default, JavaScript fires the Intersection Observer function once the page loads, which yields a false value on the IntersectionObserverEntry Object’s isIntersecting attribute. But as we scroll down the page, the threshold is reached, and the isIntersecting value changes to true.
It is also noteworthy to talk about some of the essential attributes in the IntersectionObserverEntry Object, such as;
target: This is the element the observer is looking at for an intersection with the root element.
isIntersecting: This attribute returns a Boolean value of true if the target element being observed is intersecting with the root element(if the threshold value has been achieved).
intersectionRatio: This attribute consists of float values between 0 and 1 and is constantly compared with the threshold value to indicate when the threshold has been reached. When the value of intersectionRatio is greater than or equal to the threshold value, the callback function is fired.
One more thing we must do before creating the program's logic is to get the returned object of each entry from the entries array using array destructuring. Performing this action makes our function look something like this:
const imgLoad = function (entries, observer) {
  entries.forEach((entry) => {
    console.log(entry);
  });
  const [entry] = entries;
};
After that, we create a guard clause that ignores non-intersecting events or triggers fired after an element has stopped intersecting with the root element. This can easily be implemented with this code:
if (!entry.isIntersecting) return;
This code states that if the observed elements are not intersecting with the root element, no action should be taken, hence the return statement. isIntersecting attribute, which we just discussed.
So far, our callback function looks something like this:
const imgLoad = function (entries, observer) {
  entries.forEach((entry) => {
    console.log(entry);
  });
  const [entry] = entries;
  if (!entry.isIntersecting) return;
};
Next, we create our program logic which swaps the low-quality image for the high-quality image using one simple line of code:
entry.target.src = entry.target.dataset.src;
Explaining the code above; entry.target is simply the current element that has intersected the viewport. Adding the .src property specifies that we are targeting the source attribute contained in our target element. Next, we assign entry.target.src the value stored in the dataset.src of that same element. Keep in mind that the dataset.src value is the link to the high-quality we specified in our HTML using the data-src attribute. With this single line of code, we’ve successfully swapped the low-quality image for that of the high-quality image, and implemented the image lazy-loading feature!
Don’t believe me? See for yourself.
As you can see, as we scroll down the page, our callback function is fired, and the browser automatically swaps the image in our src attribute to the image in our data-src attribute, effectively swapping the images as we scroll to them.
Note: Whenever JavaScript swaps each image, it emits a load event to indicate that our data-src image has been loaded to display. This event can be useful when writing logic to check if each image has been swapped.
Next, I’d like to add a blurry effect to our observed images so that they appear blurry at first and become clear when loaded. It is safe to assume that a certain aesthetic effect is added when the user sees a blurry image become clear rather than a low-quality pixelated image at first. To do this, we simply use the CSS class created below containing the styles to add our blurry effect, add them to our specific HTML elements, then take it off with JavaScript based on the user’s scroll.
.lazy-img {
  filter: blur(20px);
  transition: filter 0.5s;
}
And now, to remove them when we scroll into our observed elements. We use another inbuilt JavaScript event – the load event – to check if each target element(image) has been loaded, then remove the blurry effect from it. Seems pretty easy enough? 😉 Let’s dive in immediately.
entry.target.addEventListener("load", function () {
    entry.target.classList.remove("lazy-img");
});
We attached an event listener with the load event for each element we’re observing, then removed the class lazy-img, which contained our blur.

And yeah, It worked! Of course, it did; we wrote sleek code to achieve this. As you can see, each image loses its blur after we've scrolled into it and revealed a nice high-resolution image for display. Keep in mind that for this article, I intentionally slowed down the webpage's load time to showcase the blur effect fading out on the scroll. Normally, It possesses a faster load time since we're developing with our local machine.
Finally, we easily unobserve each element so that the browser no longer pays attention to (observes) them after they have been loaded.
observer.unobserve(entry.target);
And with that, we have successfully implemented our lazy loading feature on our images; congratulations! All that’s left is to demonstrate the performance difference between a lazy-loaded website and a regular one, as illustrated by the images below.
Image -1 represents our lazy-loaded webpage
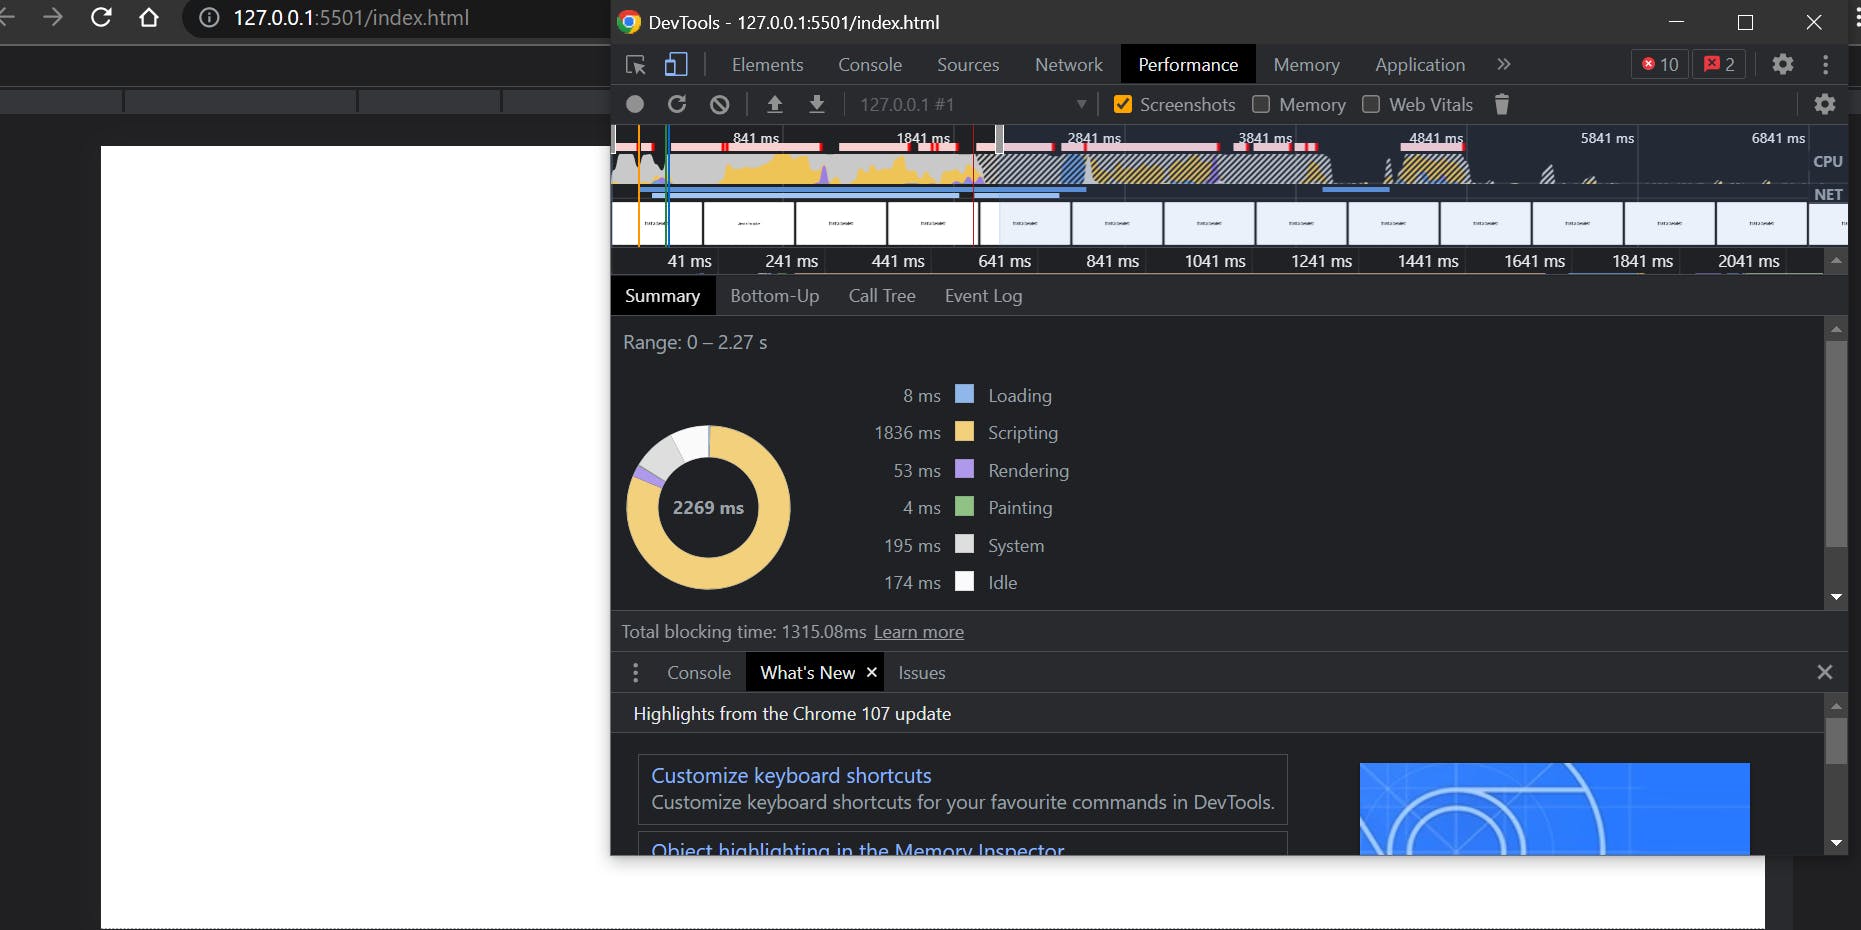
Image -2 represents the same webpage but without any lazy-loading feature
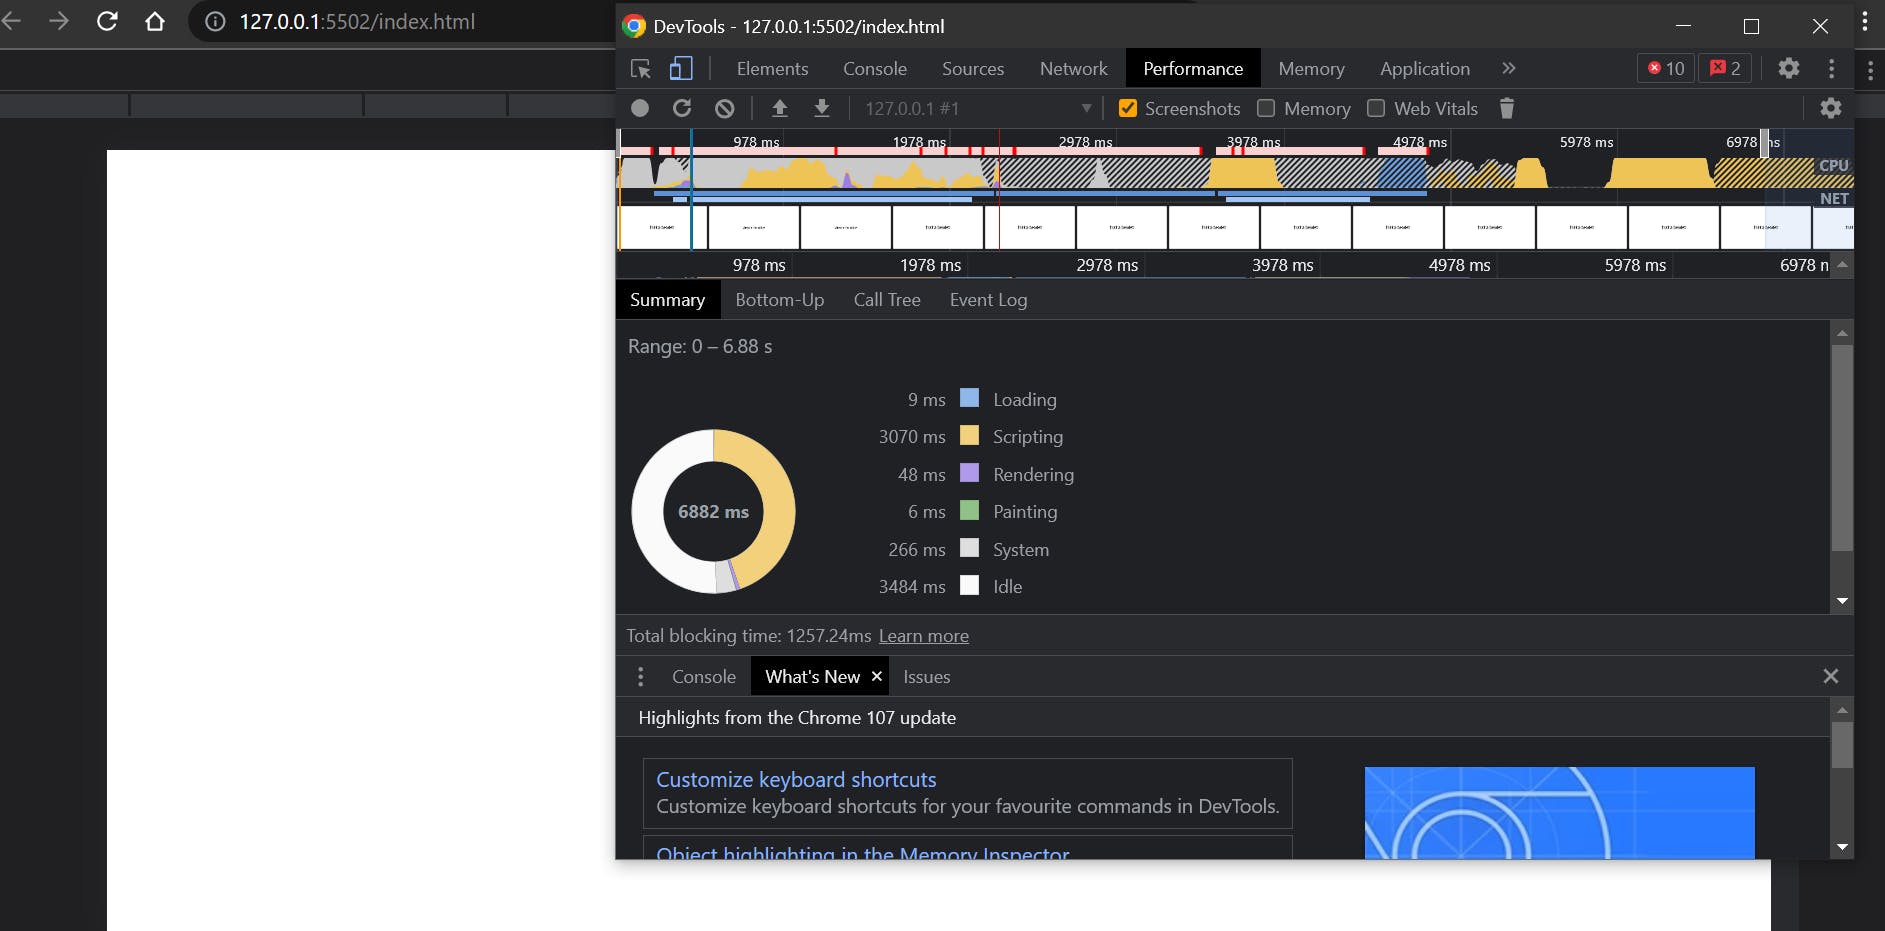
As you can see, our lazy-loaded website is near 4700ms (4.7 seconds) faster than our regular webpage. That’s quite a sizeable gap, wouldn’t you say? And in a field where speed and performance matter, our lazy-loaded website ousts its alternative.
Project Link
Conclusion
This article has been quite a lengthy one. Still, it has also been an adventure where we explored a perfect use of JavaScript’s Intersection Observer and created a lazy-loading feature. It’s now up to you to explore and push the limits of the Intersection Observer and create more fascinating features on your own, and to that, I wish you the best ✌.